When to Plant Winter Squash
There’s nothing that says fall like a big harvest of pumpkins, kabocha, delicata, and other winter squash. But in order to get the harvest, it’s important to plant them at the right time!
Winter squash have a long growing season, 75 to 100 days depending on the type. In northern gardens, the best time to plant winter squash is mid-May, while in more southern gardens, you can plant winter squash up until the end of June or early July. The exact timing for you will depend on your first and last frost dates–simply find yours here, and then count back from your last frost date to find your planting window.
Read our winter squash planting guide for more details!
What is winter squash?
Winter squash are a category of the Cucurbita genus. They are annual plants grown for their fruits, which are technically a type of modified berry called a pepo.
Winter squash have been grown since prehistoric times because, although they have a long growing season and require plenty of water and fertilizer, the squash that they produce at the end of summer can be harvested and stored for several months of the winter–hence the name.
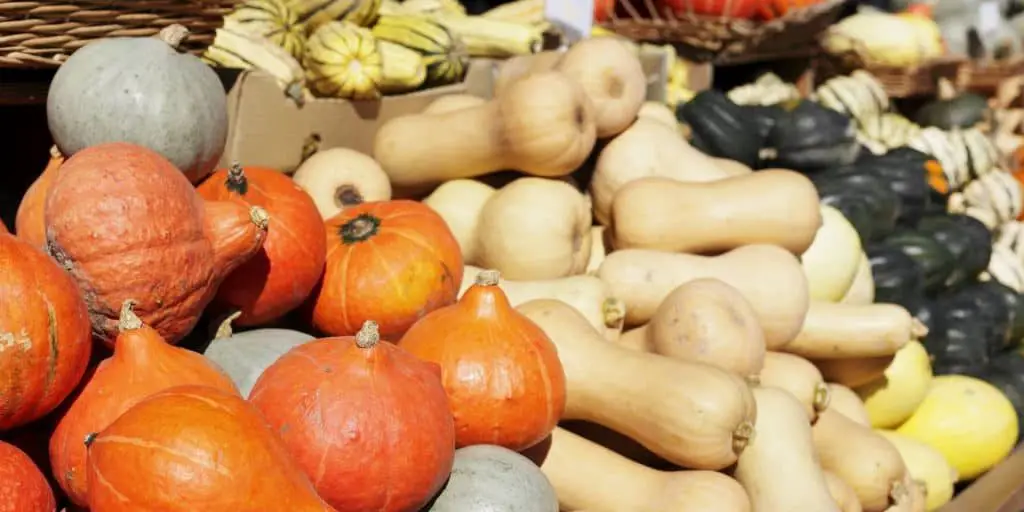
This long growing history is to thank for the great abundance of colors, shapes, and sizes that squash come in.
What is the best winter squash
The best winter squash for you will depend on what you want from your squash–whether that’s ornamental value, flavor, or storage potential.
The most popular winter squash to grow is probably the pumpkin, which is popular with many gardeners as well as crafters, home decorators, and pumpkin-carvers.
Acorn squash, spaghetti squash, and delicata squash have excellent flavor and many applications in cooking, but can only be stored for about 2-3 months.
Butternut and kabocha squash are prized both for the flavor and for their storage time–if properly cured, they can be stored for up to 6 months after harvest!
How to Plant Winter Squash
Winter squash are easy to plant and sow outside, since their planting window is generally in the time of year when the weather is warm and frost is no longer an issue.
These plants are large, and they need a lot of space to grow, along with a lot of sun. Pick an open, sunny spot with plenty of room for vines to sprawl.
Squash are also heavy feeders, and like a soil with lots of organic matter and nutrients. To prepare the soil, add compost to your beds along with a good organic fertilizer two or three weeks before planting.
To seed winter squash, simply poke them into the soil about an inch deep. Plant each squash two to three feet apart.
You can also form hills to place the seeds in; this is especially helpful if you’re in a colder climate and your soil is still cool as it helps them to warm up.
For a smaller garden where you plan to grow only a few squash, form a larger hill in the center of your planting area, and plant it with up to three winter squash seeds. You can also incorporate Three Sisters planting, by seeding corn and pole beans in the same mound to reap the benefits and extra harvest that comes from companion planting.
Watering winter squash
These plants need plenty of water in order to grow big, healthy pepos, so water thoroughly and consistently.
However, avoid overhead watering–if the leaves and fruit get too damp, they will start to rot. Use drip irrigation or a hose to water at soil level. If you find it difficult to water adequately without losing pepos to rot, use a plastic garden cradle, or even a small cardboard box, to lift them off the soil surface.
Mulching will help protect the shallow roots as well as retain moisture in the soil.
How to Harvest Winter Squash
Generally speaking, the best time to harvest winter squash is after the first frost, bue before the first hard frost of the year.
Here’s how to know when a winter squash is ready to harvest:
- The vines leaves have gone brown and died back
- The stem attached to the squash is brown and tough
- The skin of the squash is not shiny, but dull, and hard enough to not be dented by a fingernail
- The squash sounds slightly hollow when tapped
To harvest a winter squash, use a serrated knife or sharp shears to cut through the stem about three inches from where it meets the squash.
Then, in order to store the winter squash for the longest amount of time, you’ll need to cure the squash. “Curing” is essentially gently drying the squash out, getting rid of excess moisture that might cause rot during storage. It also helps improve and intensify flavor.
How to cure winter squash
A good curing area needs to be warm, dry, and dim, with good airflow.
The easiest way to make a curing station is to lay down pallets or flat cardboard on the floor of your garage, workshop, or shed.
Use a dry cloth to wipe off any dirt, moisture, or bugs still on the squash from the field.
Arrange the squash so that none are touching and the stems up totally exposed to the air. Avoid handling the squash by their stems; they can easily break off.
Most squash will be cured within ten days or two weeks; types with a harder skin (kabocha, hubbard, and butternut) need up to two months. Check on your squash regularly during the curing process, and discard any that start to develop mold or rot on the rind.
How to Store Winter Squash
A good storage area will be similar to the curing area: warm and dry, with very little light but plenty of airflow.
You can store squash in bins that have airflow holes, just make sure not to stack them too deep, or to let the stems cut into other plants. You can also store them in a single or double layer on a shelf.

