
When and How to Transplant Hostas
As one of the most popular perennial plants for the shade garden, it seems a gardener can never have enough hostas. The wide range of sizes, foliage color and patterns, and leaf characteristics make these beautiful plants useful as a border, a backbone, or a single showpiece. If you’re looking to learn about when and how to transplant hostas, read on! Here’s how to divide these garden beauties in a few easy steps.
When to Divide Hosta
Like most perennials, hostas can be divided in the early fall when the soil still holds the summer’s warmth, and the air temperatures are cool. But did you know that spring is an excellent time to move these plants? You’ll need to wait until the soil has warmed up (between 50⁰F and 60⁰F) and the leaves are just starting to sprout up.
We like to move hostas in the spring when the leaf tips are about one or two high. They seem to not even notice they’ve been moved and, if done properly, they don’t exhibit transplant shock. They settle in quickly and easily. By mid-summer, you’d never know they have been moved.
Hostas are mature enough to divide and transplant when they have been in the garden for at least three years. Some of the largest varieties, such as ‘Empress Wu,’ ‘Blue Angel’ and ‘Sum and Substance’ take longer to reach maturity; it may be five years before they can be divided.
Where to Plant Hosta
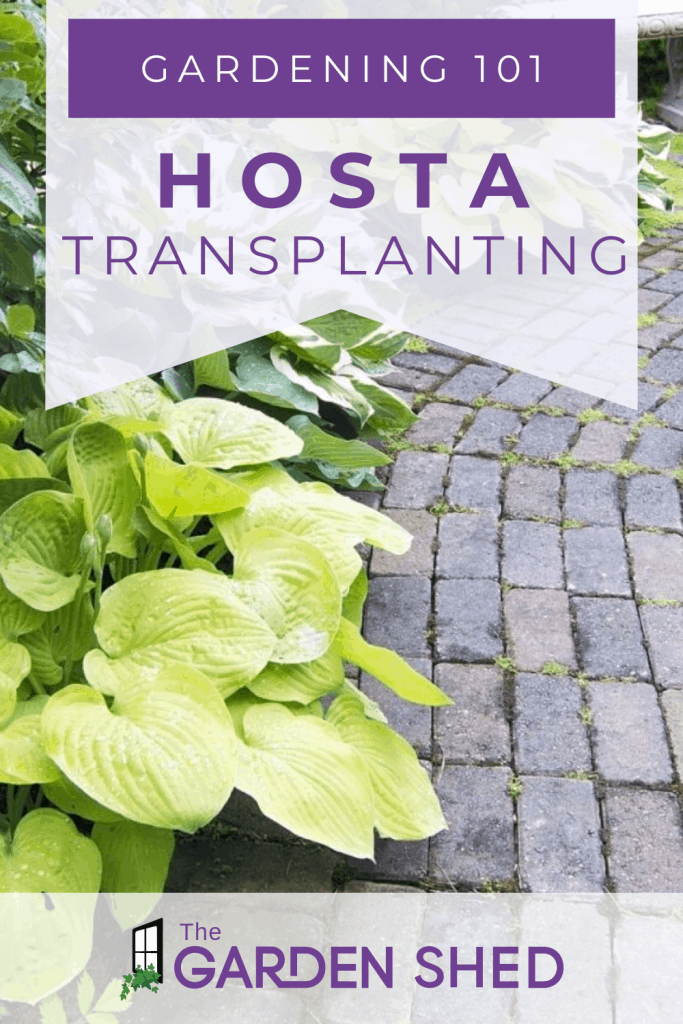
Hostas are shade lovers that like rich soil, but are very adaptable. Some of the blue or gold leafed varieties show their colors better in a semi-shaded area. There are also a few varieties that can take full morning sun. Green leafed varieties can grow in the deepest shade.

What You’ll Need
The proper tools make any garden project successful. To divide hostas, you will need:
- A shovel or garden fork
- A sharp flat-edged spade
- A sturdy pair of garden gloves
- And for very large hostas, a pruning saw and maybe some extra muscle!
After you have determined where to plant your divisions, take a good look at the soil. Hostas grow easily in all sorts of soil types, but do best in rich, humus-y, well-drained soil. So, you may want to add compost to the list. This is a helpful tip as you learn when and how to transplant hostas!
What to Do
Spread a one-to-two-inch layer of compost over the new planting area and use a shovel to mix it into the soil.
Remove the hosta to be divided. Draw a circle with your shovel’s point to determine where to dig. You want to dig a few inches past the width of the plant.
Dig around and under the roots of the hosta until you are able to lift it out. The plant will come out in a clump.
Lay the clump on its side. It’s easy to see places where you can make divisions.
Using the spade, slice through the clump to make your divisions. If the clump is very large, use a pruning saw to cut through the root ball. We like to have a dedicated pruning saw for just these types of projects. Don’t try to divide a clump with a pointed shovel. You will not get the clean cut you desire.
Now that you know when and how to transplant hostas, you’re ready to plant!
Dig a hole deep enough for the crown of the plant to be at soil level.
Place the plant in the planting hole and spread out the roots.
Fill the soil back in, taking care that the roots are covered and the soil is smooth. Don’t pile the soil around the crown of the plant.
Firm the soil gently around the plant.
Water your new plant. Water deeply and thoroughly, but gently. This helps the plant settle into its new home and helps remove any air pockets that may be in the soil.
If you want to use a mulch, we recommend something light, such as decomposing leaves (known as leaf mold). Shredded hardwood mulch should be double or triple ground if you chose to use it. Read on for more tips on when and how to transplant hostas!
Caring for Hosta After Transplanting
As we’ve said, hostas are very adaptable and very easy to care for. That’s a big part of their appeal!
Newly transplanted hostas might need a little extra care their first year, especially if the summer is hot and dry. Keep an eye on the need for water: if it hasn’t rained for a week, give your new plants a half hour or so under the sprinkler.
An application of an all-purpose slow-release fertilizer two weeks after transplanting will give your new hostas an added boost. Don’t fertilize fall planted ones; wait until the next spring. We hope you learned more on when and how to transplant hostas! Happy gardening!


