Complete Guide to Growing Brassicas
Looking for a fall crop that is low-maintenance, high-yield, and fairly winter-hardy? Look no further than the brassica family. This group includes superfoods like kale, root vegetables like turnips, and oddballs like kohlrabi–all of which are nutrient-dense and grow well in the cool weather of spring and fall.
What is a Brassica?
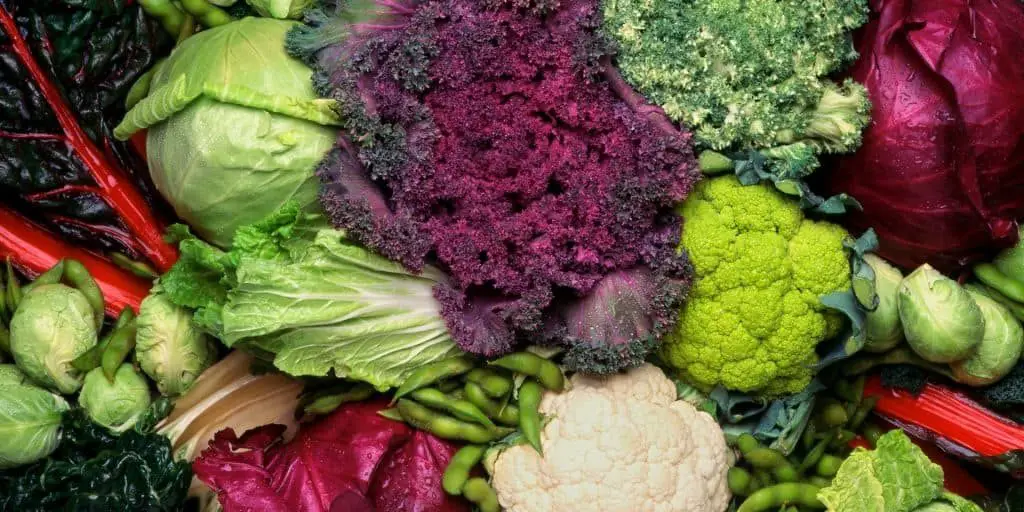
Brassica is a genus in the mustard family (Brassicaceae, formerly Cruciferae). In gardening, the term brassica refers to a group of related vegetables that grow well in cool temperatures, are usually greenish-blue in color, and have a similar flavor profile along with high nutritional value. You may also hear these referred to as “cruciferous vegetables.”
Brassicas commonly grown in gardens include:
- Kale
- Collards
- Brussel sprouts
- Kohlrabi
- Broccoli
- Cauliflower
- Mustard
- Turnips
- Rutabaga
Why Grow Brassicas?
Do you ever wish that your garden could keep growing after summer’s end? Farmers and gardeners who want fresh vegetables in the fall and winter have traditionally turned to brassicas.
Many vegetables grow well only during the warm temperatures of spring. Cruciferous vegetables subvert this, as they grow best and have their best flavor when planted and harvested in weather that is cool or cold.
In all but the most severe climates, brassicas that were planted in fall can be harvested even in the dead of winter. Some will even survive until the next spring! Plus, when next season comes around, brassicas are among the earliest crops you can put in the ground.
So growing brassicas is a great way to keep fresh, healthy vegetables on the table during a time of the year when most other produce is out of season.
Timing and Temperature
Brassicas grow best when daytime temperatures are between 65 and 80 F. Thus the window for planting a fall crop of brassicas can be anywhere between July and September, depending on your region and climate.
When planting brassicas for a winter harvest, it is best to plant brassica seedlings in late summer or early fall. This allows the seedlings to become established before the drastic temperature fluctuations later in the season, which can have a negative effect on the strength and quality of the mature plants.
Broccoli and cauliflower seedlings are the most sensitive to cold temperatures, and should be planted when the average daytime temp is still in the 70-80 F range. Cabbage, collards, and kale do better when daytime temps drop down to 60-70 F.
Don’t wait too long to plant, either! Time your final brassica planting to be at least 5 weeks before your average first frost date. This gives the seedlings enough time to grow and size up enough to survive the colder weather.
Planting Seedlings or Starting From Seed
Leafy brassicas (kale, cabbage, kohlrabi, mustard, broccoli, and cauliflower) generally grow better when started from seed indoors–or purchased as starts from a nursery–and then transplanted out into your garden.
Root brassicas like turnips and rutabagas can be seeded directly into the garden; simply keep the soil moist until the seeds germinate.
How to Start Growing Brassicas From Seed
- Fill the cells of a planting tray or (repurposed paper cups with holes poked in the bottom) with fresh potting soil. Water enough to dampen the soil.
- Use your finger to make an indent in the soil of each cell.
- Place a seed in each indent, then gently press it into the soil and lightly cover. Seeds only need to be buried twice as deep as they are wide, not deep at all.
- Cover with a humidity dome (included in seed-starting kits like this one; or you can improvise with a plastic Tupperware or food package) and water every day. You want the soil to stay moist but not sopping wet.
- Once the seeds have germinated, remove the humidity dome and place the tray in an area that gets strong light for at least six hours a day. If you don’t have a sunny enough window, a grow light is necessary.
- The seedlings need to be at least three inches tall with their second set of true leaves before they are ready to plant.
- Harden off your seedlings by placing them outside in a protected location for five to seven days before transplanting. This will allow them to get used to the conditions of the outside world–wind, sun, temperature fluctuations–before they also have to deal with the shock of transplant. If you buy seedlings instead of starting from seed, you should still harden them off before planting.
How to Plant Brassicas
Now that you have hardened off your seedlings, it’s time to plant! Planting brassicas is fairly simple and straightforward.
Transplanting is always easiest on the plant when the seedlings are hardened off, the weather is fairly cool, and the sun is not intense. Early evening is an excellent time to transplant seedlings because the air is cooling off and the sun is going down.
- First, prepare your beds by adding a fresh dose of compost as well as an organic fertilizer. If your soils are particularly poor or haven’t been amended in some time, provide some extra nitrogen by adding blood meal or feather meal.
- Remove your seedlings from their tray. Gently squeeze the bottom of each cell to loosen the root ball, then gently slide each seedling from the cell. Be careful–it’s easy to snap the delicate stems!
- Plant each seedling the appropriate distance apart. Brassicas in general grow up to be pretty big plants, so leave at least 18 inches between each seedling.
- Water every day for the first week after transplant.
How to Harvest Brassicas
This is what we’re here for, right? Harvesting brassicas isn’t rocket science, but there are some pointers to keep in mind.
How to Harvest Broccoli and Cauliflower
These two brassicas are ready to harvest when their florets have formed into a tightly packed head. With broccoli, harvest when the small round flower buds are about the size of a match and have a deep green color. With cauliflower, the head should firm and the florets almost completely white.
Use a sturdy knife to cut the head from the main stem. A machete-like harvest knife like this one can make getting a clean cut a lot easier.
How to Harvest Cabbage
Cabbage is ready to harvest when its center leaves have formed a tight, dense head. To harvest, peel away the floppy outer leaves to give yourself easy access to the stem of the cabbage. Then use your large, sharp knife to separate the head from the stem.
Cabbage actually stores well “in the field,” especially in drier climates. This means that it can be left in your garden attached to its stem after it has formed a head, right up until more severe winter weather arrives. When you harvest cabbage that has been stored in the field, feel free to remove the outermost leaves of the head. These outside leaves may be frostbitten or moldy, but the bulk of the leaves inside their layers of protection will be in perfect shape!
How to Harvest Kohlrabi
Kohlrabis are ready to be harvested when the bulbous stem is about the size of a softball. They will grow larger, but tend to become pithy and bitter. Use a knife to slice the stem just below the bulb. Be careful–kohlrabi stems are pretty sturdy!
How to Harvest Kale, Collards, and Mustard
These three leafy brassicas can be harvested on a continuous basis. The largest leaves will be the oldest ones, that is, the leaves that are lower on the stem. Cut these leaves off close to the stem, taking just a few from each plant at a time. The plants will continue to generate new leaves, creating an ongoing harvest for you!
How to Harvest Turnips and Rutabaga
With these root vegetables, you can use the size of their greens as well as the width of their “shoulder” to help determine if it’s time to harvest.
Turnip and rutabaga greens can become quite large. Since these leaves are what the roots use to provide energy for growth, you should let them get as big and then wait as long as possible to harvest the roots.
When you are ready to try harvesting, take a look at the shoulders of the roots–the very tops of them which are visible above the surface of the soil. The wider the shoulders, the bigger the root. Harvest the biggest first, and then let the smaller ones continue to grow until they too size up.
Brassica Crop Rotation
Crop rotation is the practice of planting a rotating selection of plants in an area over time, instead of the same kind of plant year after year. This method interrupts cycles of soil-borne pests and diseases, plus contributing to nutrient regeneration in the soil.
Brassicas are susceptible to bacterial infections known as clubroot and black rot. By changing where you plant brassicas each year in your garden, you make it less likely for these bacteria to multiply enough to cause a real problem.
Plan to use a three or four-year rotation in your garden. This means that after you plant kale in one bed, it should be three or four years before you plant a brassica there again.
